Most bathrooms weren’t built for the amount of stuff we store in them today. Toiletries, towels, cleaning supplies, hair tools, it all piles up fast. A dedicated bathroom storage unit solves that problem by giving everything a designated spot, cutting down on countertop chaos and wasted time hunting for items. Whether you’re working with a cramped half-bath or a spacious primary suite, the right storage unit keeps your space functional and presentable. This guide walks through the types available, how to choose one that fits your layout, and practical installation tips to get it done right.
Table of Contents
ToggleKey Takeaways
- A bathroom storage unit eliminates countertop clutter, reduces time searching for items, and can increase home resale value by signaling a well-maintained space.
- Choose between freestanding cabinets, wall-mounted shelves, or recessed options based on your bathroom layout, floor space, and available wall studs.
- Always prioritize moisture-resistant materials like sealed MDF, bamboo, or thermofoil finishes to prevent warping and deterioration in humid bathroom environments.
- Proper installation requires locating studs, using appropriate anchors for your wall type, and anchoring tall units to prevent tip-overs—a critical safety measure for homes with kids or pets.
- Maximize your storage unit’s effectiveness by grouping similar items in labeled bins, storing heavy items on lower shelves, and performing quarterly cleanouts to prevent expired products from accumulating.
Why Every Bathroom Needs a Dedicated Storage Unit
Bathrooms are high-traffic zones with limited square footage. Without adequate storage, countertops become cluttered, drawers overflow, and items end up shoved under the sink where they’re hard to reach. A storage unit, whether freestanding, wall-mounted, or recessed, creates vertical space and keeps essentials organized.
From a practical standpoint, proper storage extends the life of your products. Medications and cosmetics last longer when stored at stable temperatures, away from shower steam. Towels stay fresher when they’re not crammed into a damp closet. And when everything has a place, cleaning the bathroom takes half the time.
There’s also a safety angle. Bathrooms often house cleaning chemicals, razors, and prescription medications. A lockable cabinet or high shelf keeps hazardous items away from kids and pets. According to organizing principles followed by professional home stagers, visible clutter increases stress and makes spaces feel smaller than they are.
Finally, adding storage can boost resale value. Buyers notice functional bathrooms with ample storage, especially in older homes where builder-grade vanities offer minimal cabinet space. A well-chosen unit signals that the home has been thoughtfully maintained.
Types of Bathroom Storage Units to Fit Any Space
Choosing the right type of storage unit depends on your bathroom layout, available wall space, and how much you need to store. Here’s a breakdown of the most common options.
Freestanding Cabinets and Shelving Units
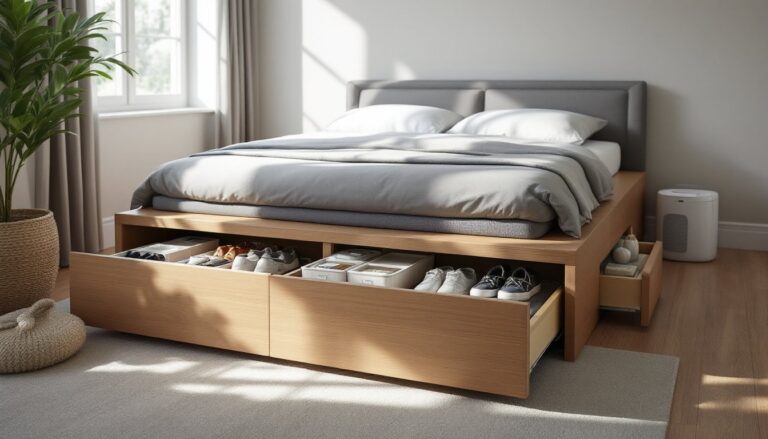
Freestanding units are the easiest to install, no drilling into tile or drywall required. They range from narrow vertical storage solutions that fit between the toilet and vanity to full-height linen cabinets that hold towels, toiletries, and cleaning supplies.
Materials: Look for moisture-resistant options like sealed MDF, bamboo, or plastic resin. Solid wood looks great but needs a waterproof finish to survive bathroom humidity. Avoid particleboard unless it’s explicitly rated for damp environments, it swells and falls apart once water seeps in.
Stability: Freestanding units taller than 48 inches should be anchored to the wall with L-brackets or a furniture strap, especially in homes with kids or pets. Tip-over accidents are preventable with a 5-minute install using a stud finder and screws.
Best for: Renters, bathrooms with limited wall studs, or anyone who wants flexibility to move the unit later. Freestanding shelves work well in corners or next to a tub.
Wall-Mounted and Floating Storage Solutions
Wall-mounted units save floor space and make cleaning easier, no base to sweep around. Floating shelves, medicine cabinets, and wall-hung cabinets all fall into this category.
Installation considerations: Always locate studs before mounting. Drywall anchors work for lightweight shelves holding toiletries, but a cabinet full of towels or bottles needs screws driven into 16-inch on-center studs. In tile surrounds, use a carbide-tipped masonry bit and plastic anchors rated for at least 50 lbs per anchor. Drill slowly to avoid cracking the tile.
Recessed options: If you’re remodeling and the wall is open, consider a recessed cabinet (also called a medicine cabinet niche). These sit flush between studs and don’t protrude into the room, ideal for tight spaces. You’ll need to frame the opening with 2×4 or 2×6 lumber and ensure it doesn’t interfere with plumbing or electrical runs. Check local codes: some jurisdictions require a permit for wall modifications.
Best for: Small bathrooms where floor space is tight, modern aesthetics, or homeowners comfortable with basic carpentry. Floating shelves above the toilet are a classic spot that’s often underutilized.
How to Choose the Right Storage Unit for Your Bathroom
Start by measuring your available space, height, width, and depth. Don’t forget to account for door swing, shower clearance, and toe kick if the unit will sit on the floor. A unit that’s even an inch too wide won’t fit, and returns are a hassle.
Depth matters more than you’d think. Standard bathroom vanities are 21 inches deep. If you’re adding a freestanding cabinet nearby, look for something 12 to 18 inches deep so it doesn’t stick out awkwardly or block the door. Wall-mounted shelves can be shallow, 6 to 8 inches, since they’re typically used for lighter items.
Match the finish to your fixtures. Brushed nickel hardware pairs well with contemporary faucets, while oil-rubbed bronze fits traditional or farmhouse styles. If your bathroom has chrome fixtures, avoid mixing in brass unless you’re intentionally going for an eclectic look.
Think about what you’re storing. Hair tools and blow dryers need cubbies tall enough to fit standing upright. Rolled towels fit in 12-inch-high shelves, but folded bath sheets need at least 14 inches. Cleaning supply bottles are typically 10 to 12 inches tall. Many design resources, including those on interior planning sites, recommend adjustable shelving to adapt as your needs change.
Moisture resistance is non-negotiable. Even in a well-ventilated bathroom, humidity fluctuates. Look for water-resistant finishes, rust-proof hardware, and sealed edges. Laminate or thermofoil surfaces hold up better than unsealed wood in steamy environments.
Finally, check load ratings. Manufacturers usually list weight capacity per shelf. A typical glass shelf with standard brackets holds about 20 to 30 lbs: wooden shelves on heavy-duty brackets can handle 50+ lbs.
DIY Installation Tips for Bathroom Storage Units
Installing a bathroom storage unit is a manageable DIY project for most homeowners, but tile, plumbing, and tight spaces add complexity. Here’s how to tackle it.
Tools you’ll need:
- Stud finder (magnetic or electronic)
- Level (a 24-inch or longer torpedo level works)
- Drill/driver with bits (including a masonry bit if drilling tile)
- Tape measure and pencil
- Screws and anchors (appropriate for your wall type)
- Safety glasses
Step-by-step for wall-mounted units:
-
Locate studs. Use a stud finder to mark stud centers. Standard framing is 16 inches on-center, but older homes or areas around plumbing may vary. Mark both edges of each stud and confirm the center.
-
Mark the mounting height. Hold the unit against the wall at the desired height (or use a template if provided). Use a level to ensure it’s plumb. Mark screw holes with a pencil.
-
Drill pilot holes. If mounting into studs, use a drill bit slightly smaller than your screw diameter. For tile, place painter’s tape over the mark to prevent the bit from wandering, then drill with a carbide bit at low speed. Insert anchors if you’re not hitting a stud.
-
Hang and secure. Lift the unit into place and drive screws partway in. Check level again before fully tightening. If the unit has a French cleat or Z-bar mounting system, make sure it’s seated properly on the wall bracket.
-
Load gradually. After installation, load the shelves slowly and check that everything stays secure. If you notice sagging or movement, add additional anchors or redistribute weight.
For freestanding units:
Assembly is usually straightforward, follow the manufacturer’s instructions. The most common mistake is over-tightening hardware, which strips particleboard or MDF. Snug is good enough.
If the unit wobbles on an uneven tile floor, use adhesive furniture pads or shims to stabilize it. Then anchor it to the wall with an L-bracket or furniture strap. This takes 10 minutes and prevents tip-overs.
Safety notes: Always wear safety glasses when drilling overhead or into tile. If you encounter unexpected resistance (a pipe or electrical line), stop immediately. When in doubt, consult a pro, especially if you’re drilling into a tile surround near plumbing.
Maximizing Your Bathroom Storage Unit’s Potential
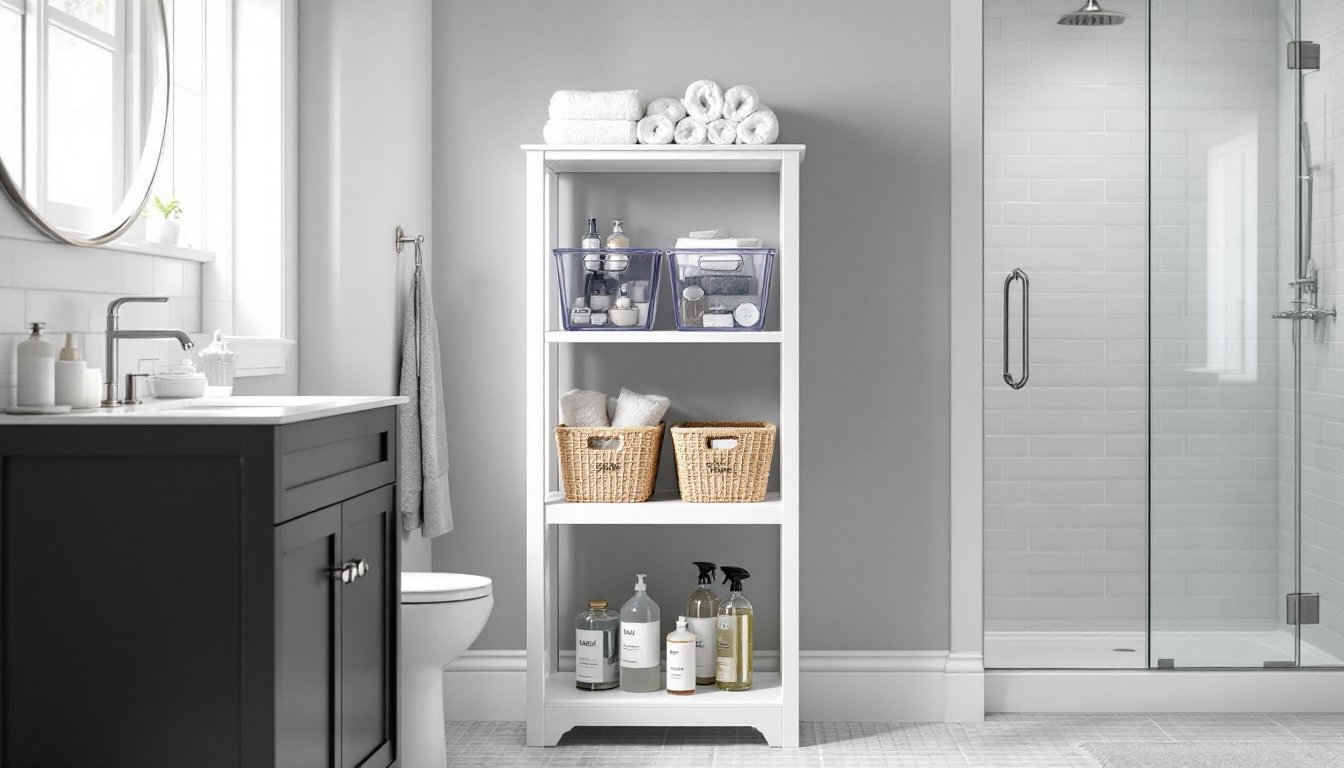
Once your unit is installed, smart organization keeps it functional. Use baskets, bins, and dividers to group similar items, one bin for hair products, another for first aid supplies. Clear acrylic bins let you see contents at a glance, while woven baskets add texture and hide clutter.
Label shelves or bins if multiple people share the bathroom. It sounds basic, but it cuts down on the “where’s the sunscreen?” questions.
Store heavy items on lower shelves for stability and to avoid lifting awkward loads overhead. Keep frequently used items at eye level. Seasonal or rarely used products (extra bulk toilet paper, beach towels) can go on top shelves or in pull-down baskets.
Rotate stock like a miniature pharmacy. Put new products in the back so you use older items first. This prevents expired sunscreen or half-used shampoo bottles from piling up. Design experts featured on sites like Remodelista often recommend the “one in, one out” rule to prevent storage creep.
If your unit has doors, add adhesive hooks to the inside for hair tools, washcloths, or small bags. This dead space is prime real estate.
Finally, schedule a quarterly cleanout. Bathroom storage attracts half-empty bottles, dried-out makeup, and expired medications. A quick purge keeps the unit from becoming a junk drawer.